Migrating From K3s to Talos Linux Pt.1
I’m a big fan of homelabing and self-hosting. As an IT professional I think it is important to have a place where I can test new things and learn, specially those things that are not directly related with your current job. I also like to keep my personal stuff private and don’t rely on big companies that constantly rug-pulls its customers, enshittification is here to stay and will only get worse, without mentioning using our data to train AI models.
In my homelab most of the services where I keep valuable data, such as photos, has its unique virtual machine that may use containers to run the application (using a docker-compose file) or the application is installed using another method, the VMs are deployed in a two-node proxmox cluster. All services have its own certificate generated using Let’s Encrypt and are accessible through Tailscale. For services that are stateless or doesn’t hold very important data I currently use a single node k3s “cluster”. K3s is a Kubernetes distribuition that is lightweight and optimized for edge-computing, it works really well and I really recommended it for anyone that want to use Kubernetes without all the hasle of setting a more complex cluster, keeping in mind that k3s can be used in a multi-node deployment as well.
While I’m a big fan of the K.I.S.S philosophy at my work I like to play with scenarios that are not so simple to learn new things, Talos Linux is one of those things. Talos is a distribution made for running Kubernetes clusters, it is very minimal and secure by design, its configuration is done by using config files and the talosctl cli tool (ssh is not installed), that means that I can store all my configuration in a git repository, enabling a gitops approach and faster rebuild times if necessary.
In my current scenario my k3s node exposes the services using the built-in load balancer and traefik ingress controller, the applications are deployed using ArgoCD. The applications that needs to write on the disk can do that by using hostPath (which is not ideal but works well enough in this case), monitoring is made using a combination of Uptime Kuma and netdata.
The goals of this “project” are:
- Have a high available cluster using Talos Linux
- Proper monitoring using Prometheus + Loki, which will be used to monitor my entire homelab
- Use Longhorn as a CSI
- Replace Ingress with Gateway API
- Migrate all applications running on k3s
- Keep everything working as before
In this first post I will demonstrate how I downloaded Talos Linux and create the virtual machines on my Proxmox cluster. I’m going to focus on the Talos specific parts, so any actions done on proxmox won’t be show unless they are very unique.
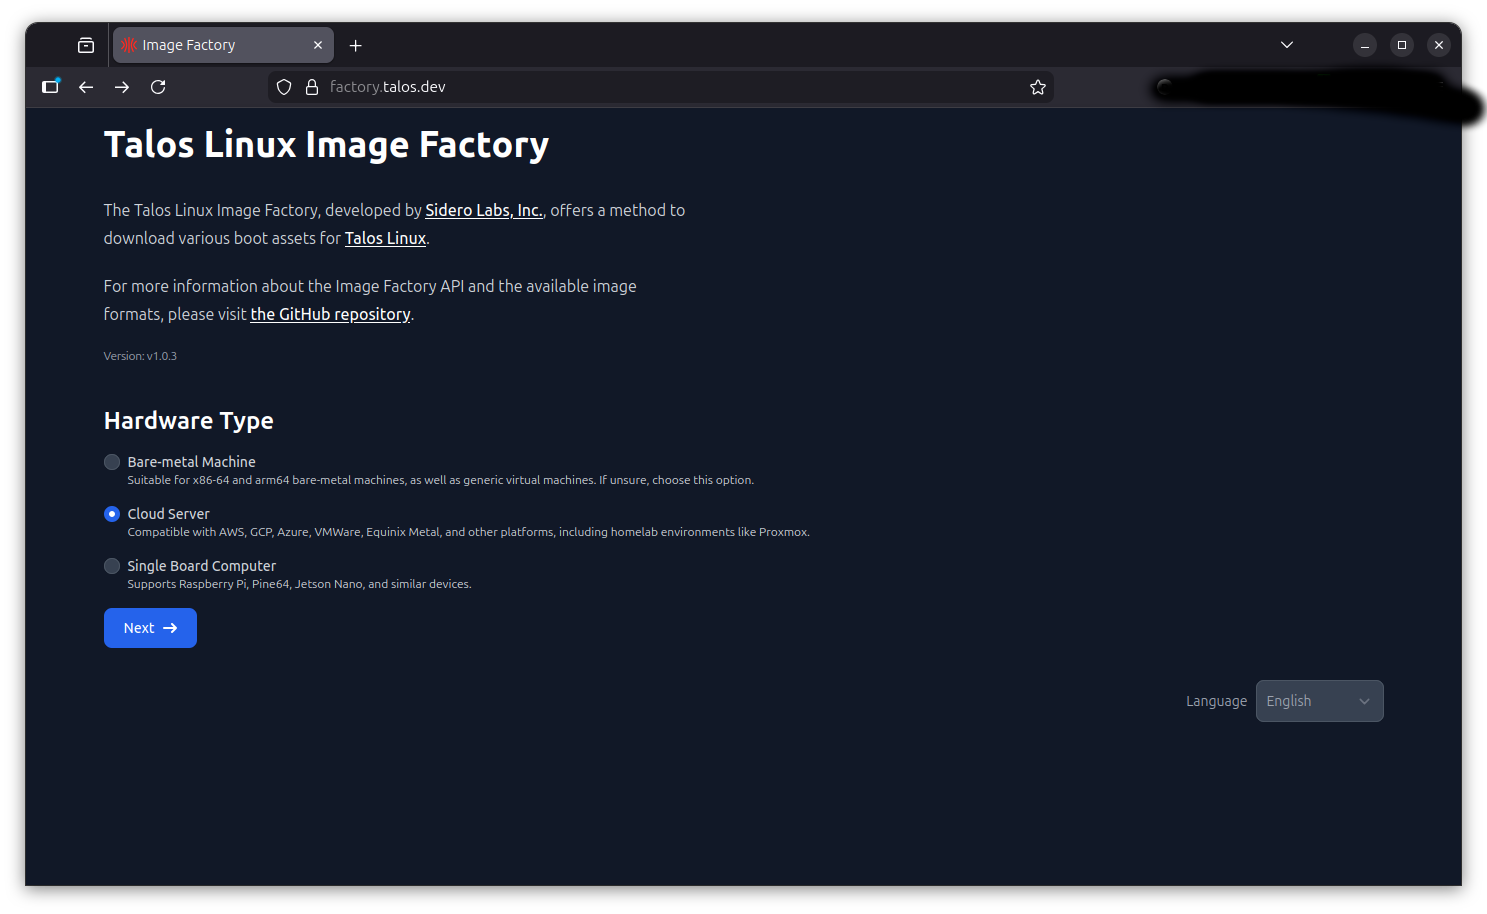
First of all we need to download an the Talos Linux iso, we need to access the Image Factory the process here is not as straightforward as in other distros where you just need to choose the architecture or flavor, Talos allows for a great number of customizations right from the start and while many of the choices can be altered later we need to pay attention in some details otherwise we won’t be able to boot, thankfully the download page is very well documented and it is not hard to navigate. The first thing is to choose the type of hardware, as I’m using Proxmox I choose “Cloud server”.
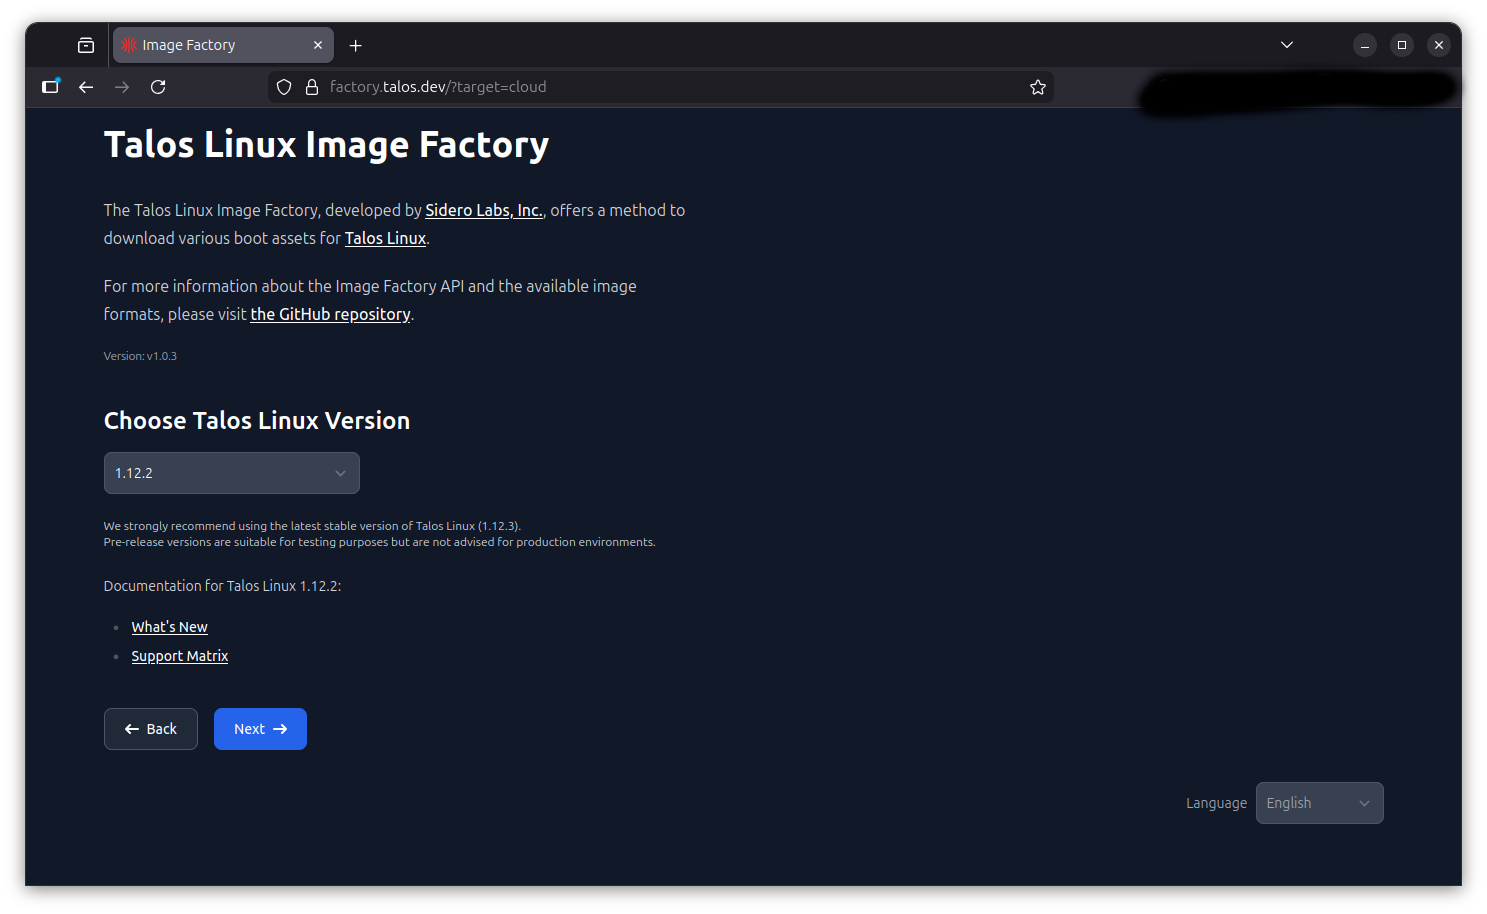
Now I choose the version, in this case it is 1.12.2.
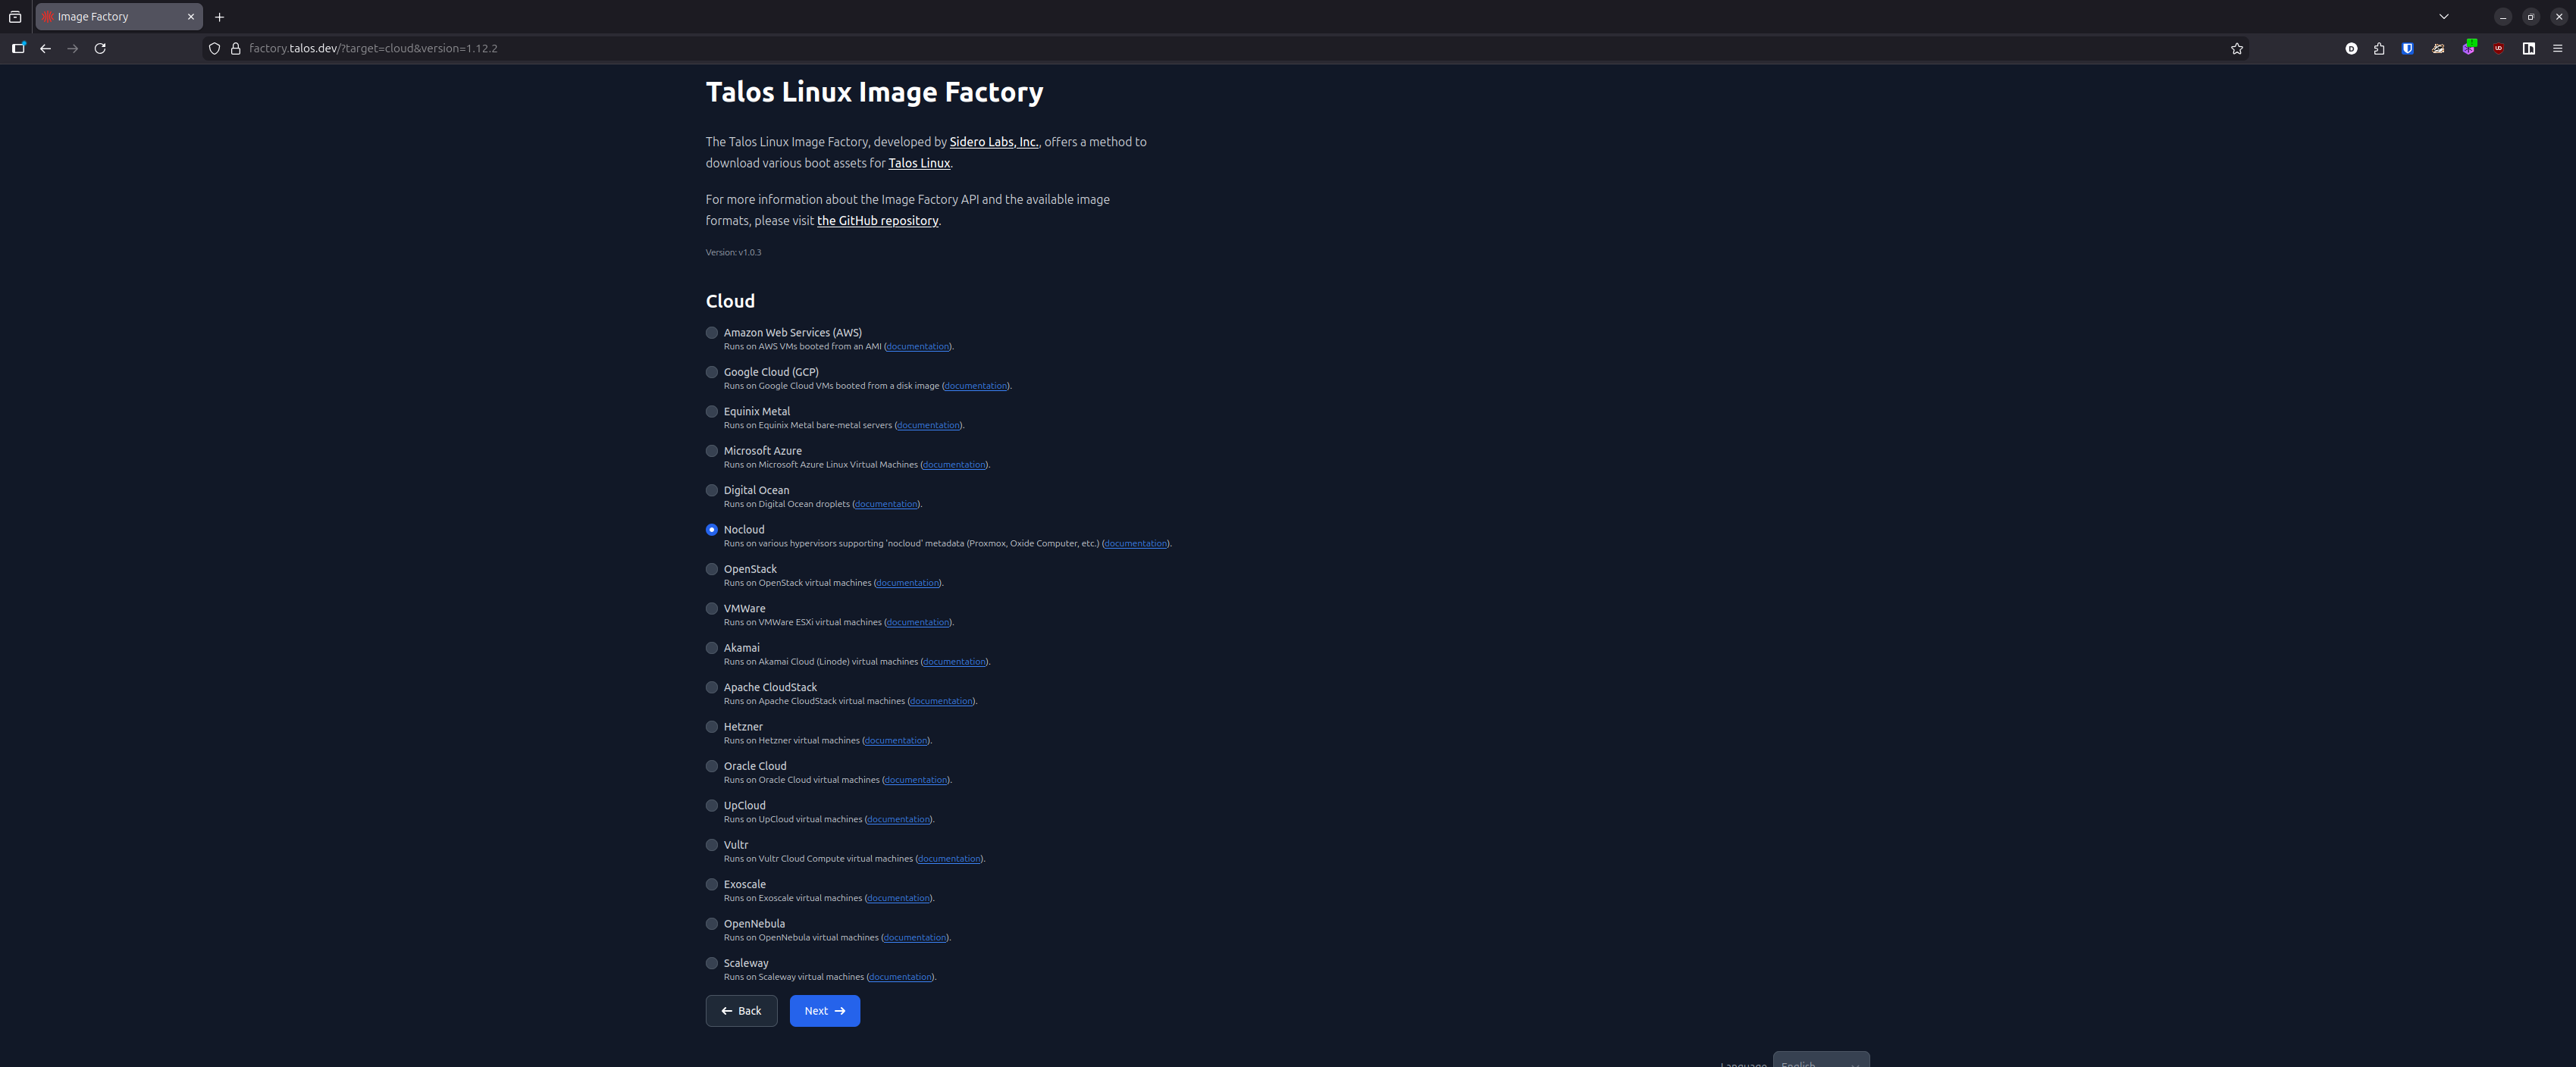
Since I choose “Cloud server” now I have to choose what kind of cloud I’m using, the list here is quite comprehensive with many of the main cloud providers listed, in my case I will choose “Nocloud”.
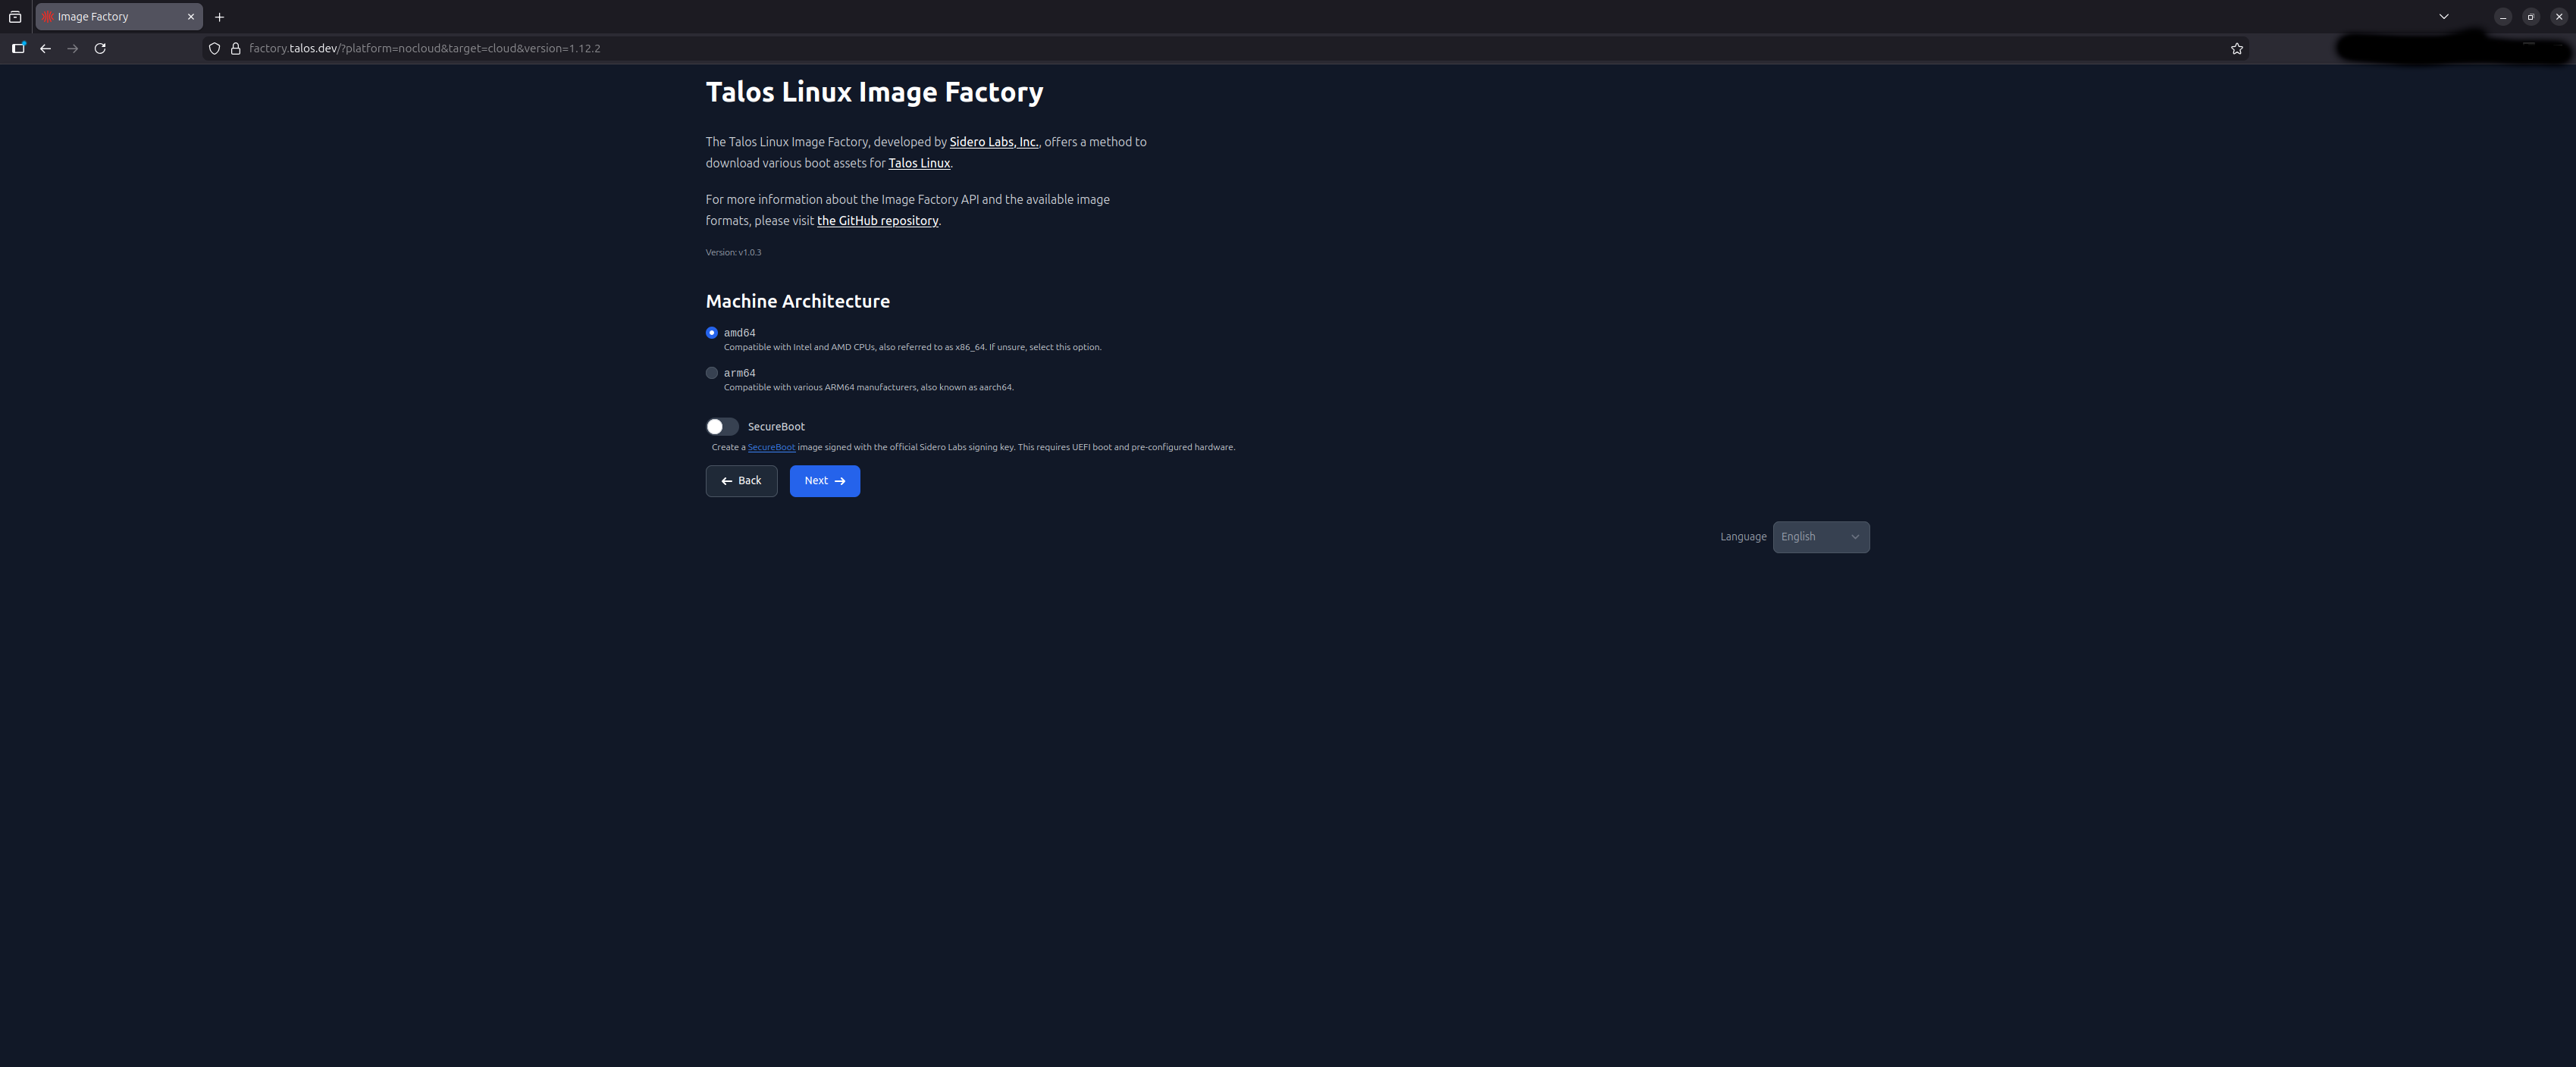
Choose architecture, in my case amd64, I didn’t want to use secure boot but if that the case check this great article from Mauricio Teixeira
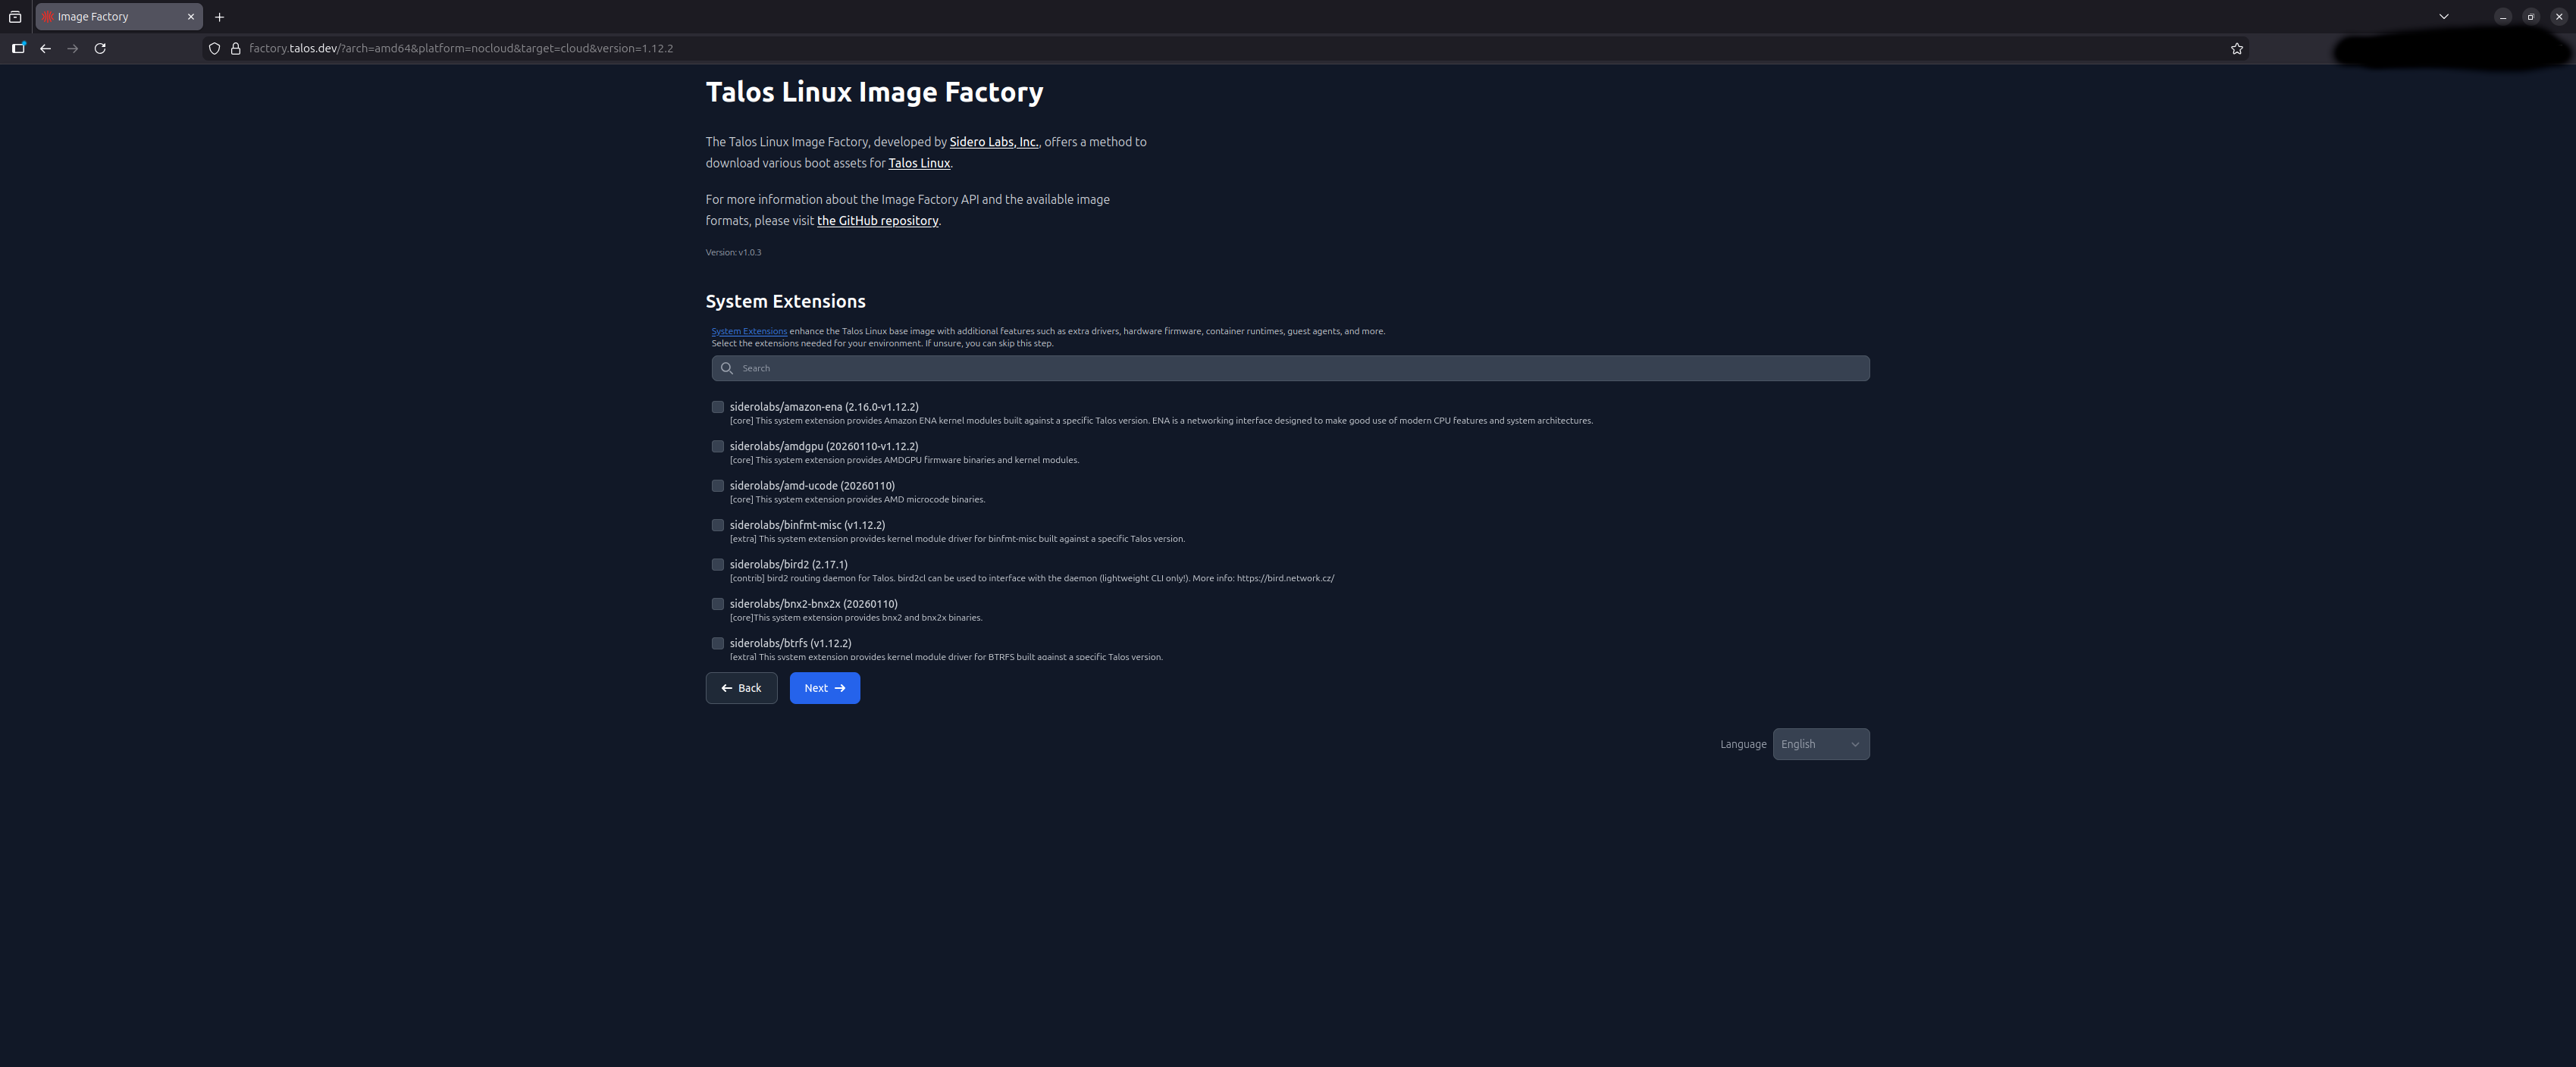
You can pre-download system extensions, that are used to expand the cluster capabilities such as loading additional firmwares or custom runtime, since Talos root filesystem is read-only and immutable you need to install these exensions only during an upgrade or initial installation. In my case I’ll install them in a later step.
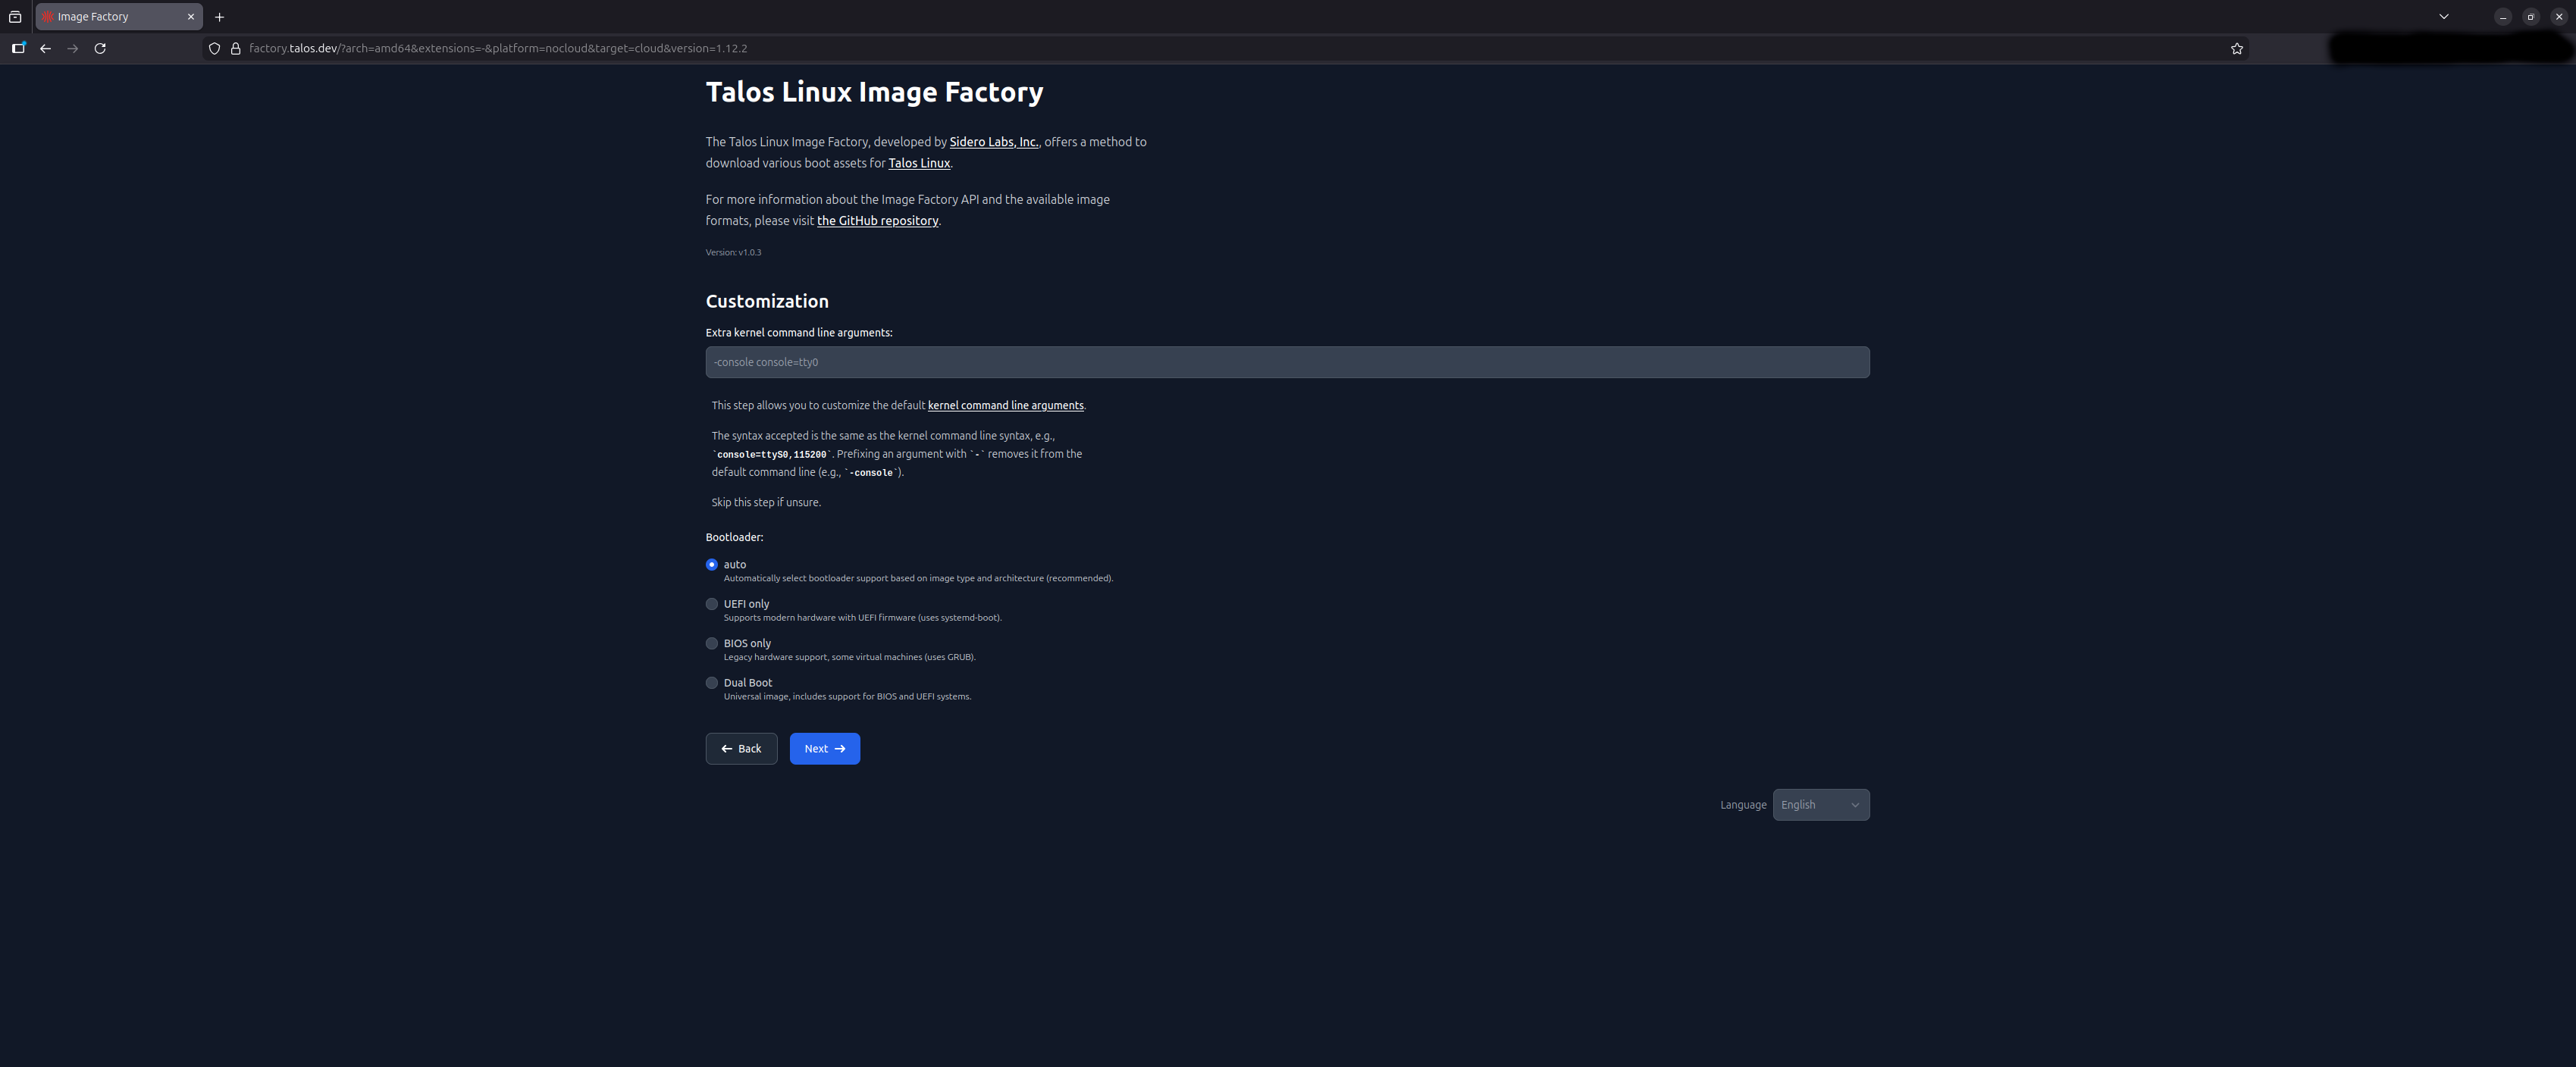
In the customization page I didn’t need to change anything.
Finally you have the address to download the image, it also provides addresses and instructions to use the customized image to upgrade an existing cluster.
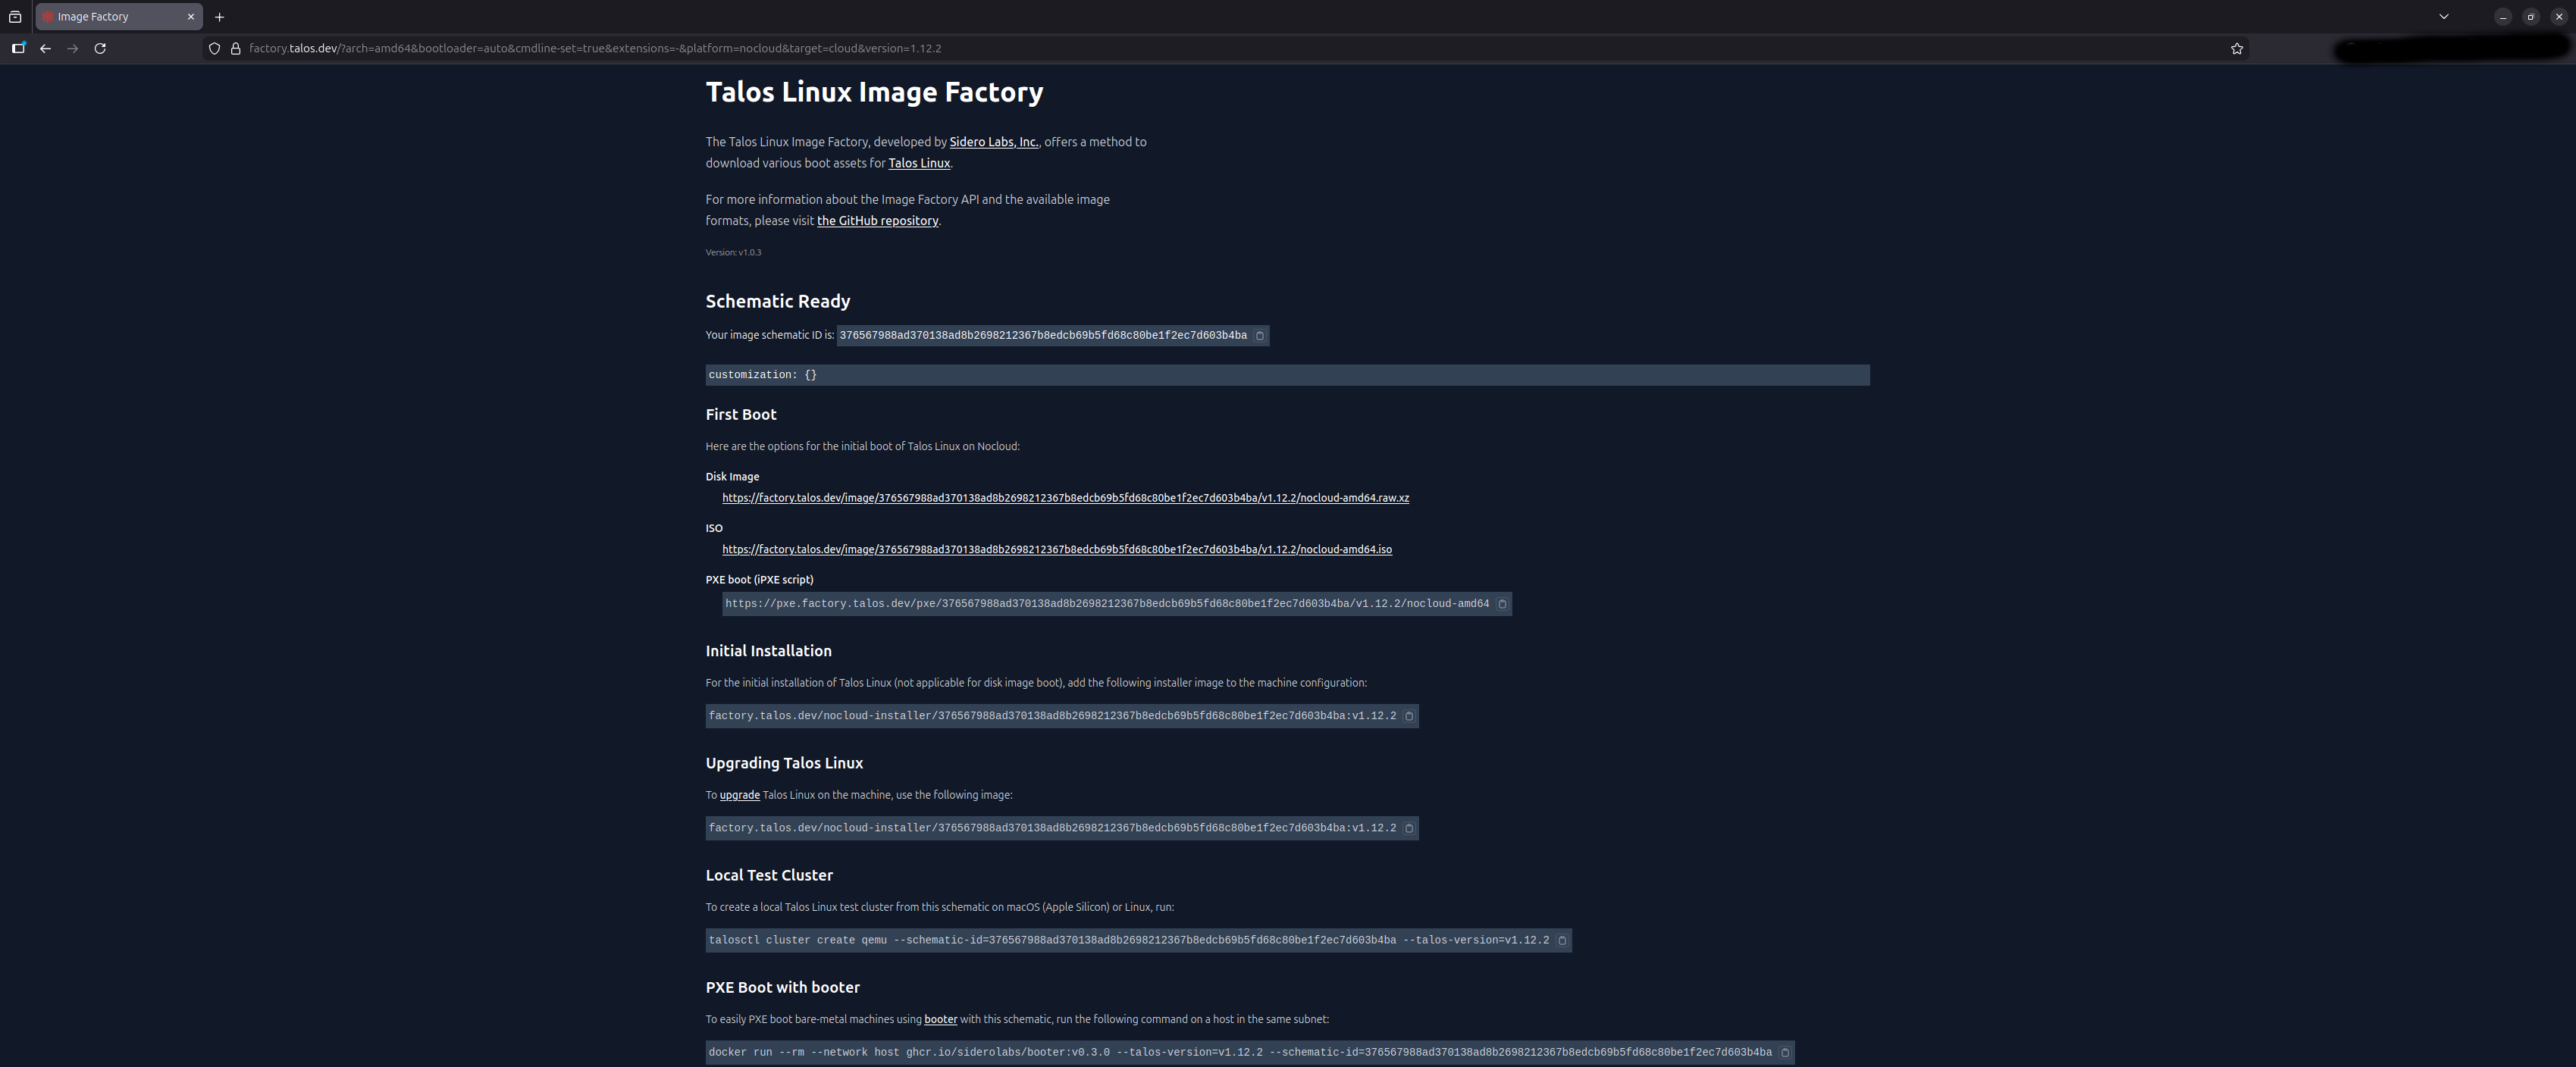
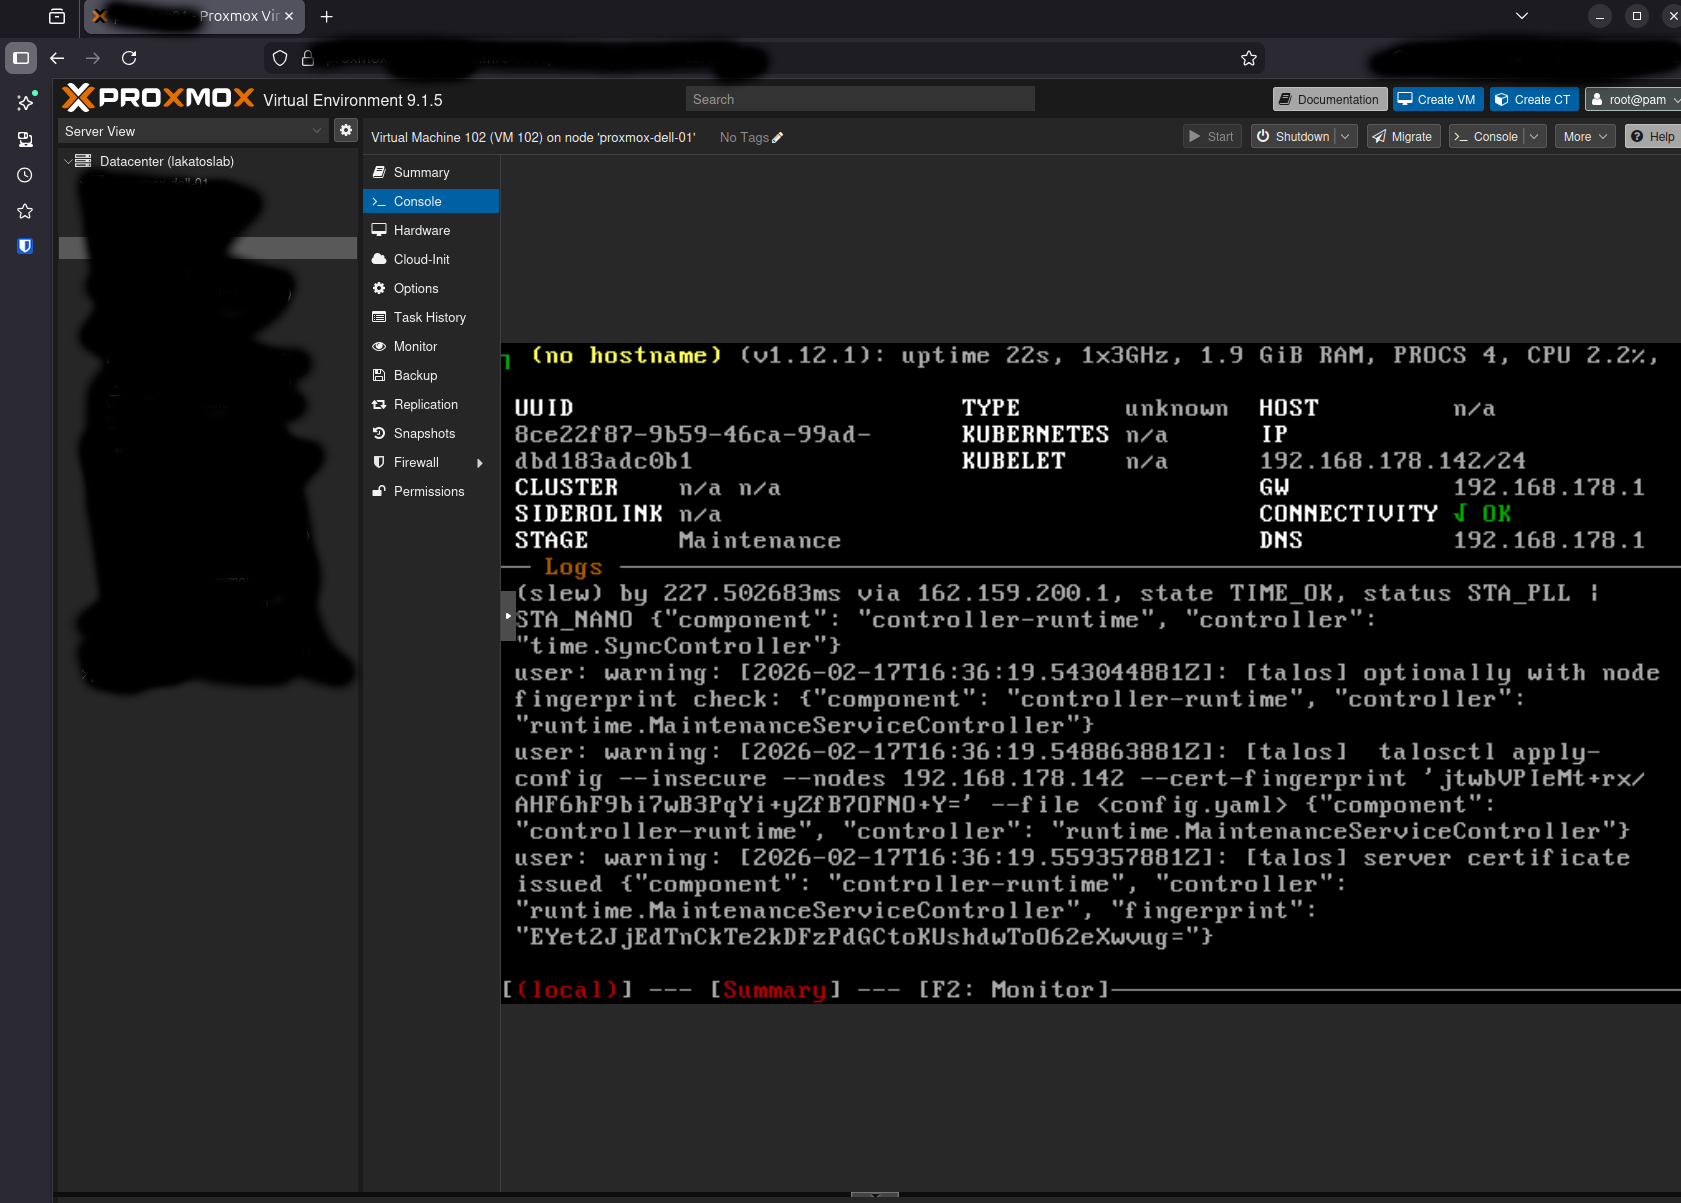
You can download the ISO image with the provided link but since I’m using proxmox I think it is easier to upload it directly to proxmox, this article shows how to do it . With the ISO uploaded just create a virtual machine (or several in this case) and start them, after booting you should be able to see something like this:
With that we are ready to configure and bootstrap the cluster, which will be done in part 2, see you soon!